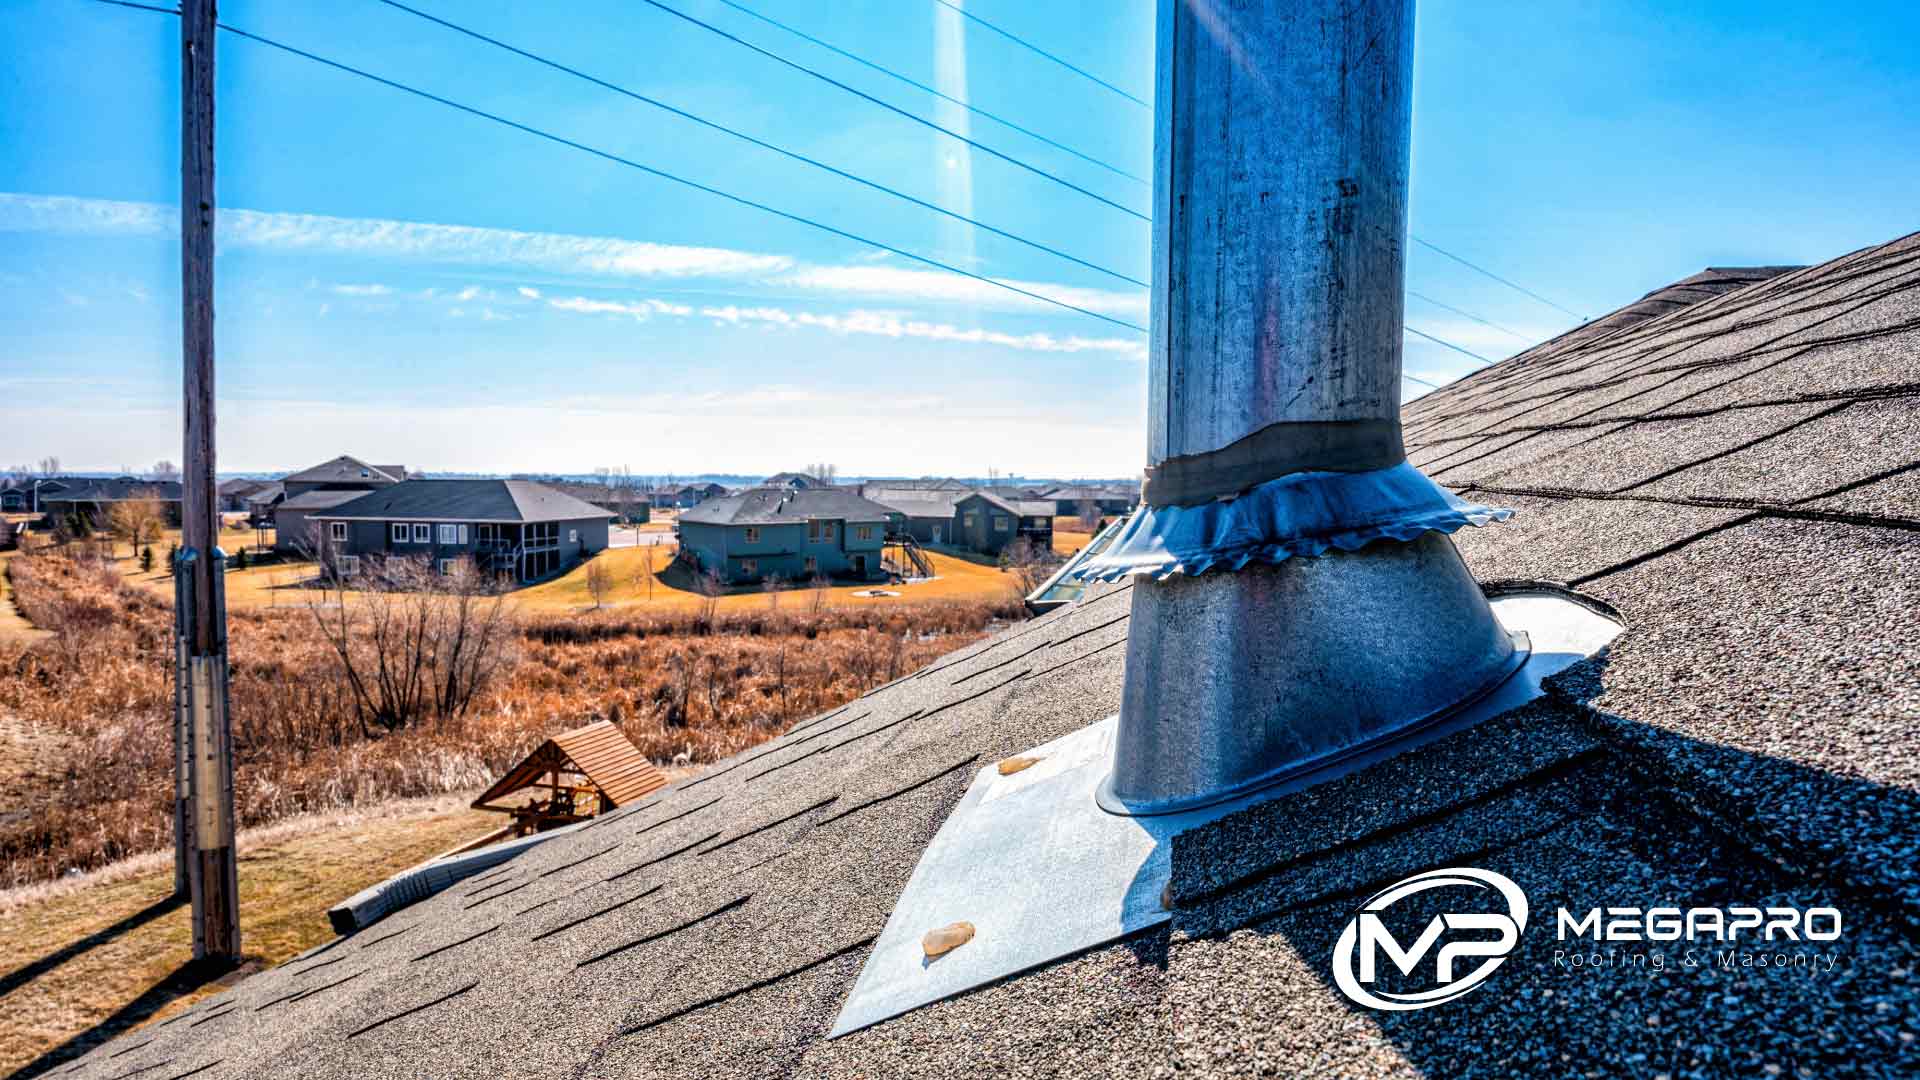
Roof flashing plays a crucial role in keeping water out of vulnerable areas on your roof. This thin material, often installed around roof intersections, chimneys, vents, and skylights, acts as a barrier to prevent water infiltration. For homeowners and business owners in NJ, understanding roof flashing can save you from costly water damage. Let’s explore what roof flashing is, the types available, and maintenance tips to ensure a leak-free roof.
What is Roof Flashing?
Roof flashing is a waterproof barrier made from materials like metal, plastic, or rubber. Its primary function is to redirect water away from areas where the roof meets other surfaces or where penetrations, like chimneys and vents, are installed. Properly installed flashing prevents water from seeping into these vulnerable spots
Common Types of Roof Flashing
Understanding the different types of flashing can help you choose the right solution for your roof:
- Step Flashing: Used along roof edges, step flashing is installed in layers where the roof intersects with vertical walls.
- Counter Flashing: Often used around chimneys, counter flashing overlaps base flashing to provide added protection.
- Valley Flashing: Installed in roof valleys, this flashing protects the natural channels where water flows and prevents pooling.
- Drip Edge Flashing: This type runs along the edge of the roof, directing water away from the fascia and gutters.
- Vent Pipe Flashing: Specifically designed for pipes, this flashing seals around vent pipes to prevent leaks.
Why is Roof Flashing Important?
Over time, flashing can become worn, corroded, or damaged due to extreme weather or age. Signs of flashing damage include:
- Rust or Corrosion: Metal flashing can rust, leading to weakened protection.
- Cracks or Gaps: If flashing starts to pull away or crack, water can enter these gaps.
- Water Stains Near Roof Penetrations: Stains around chimneys, skylights, or vents are often signs of faulty flashing.
The Roof Flashing Repair Process
When flashing is damaged, timely repairs can prevent leaks and extend your roof’s life. A professional roofing contractor will typically:
- Inspect the Flashing: Determine the extent of the damage and the specific areas needing repair.
- Remove Damaged Flashing: Carefully detach and dispose of old flashing.
- Install New Flashing: Securely install the new flashing material, ensuring a watertight seal.
- Seal with Roofing Cement: Apply cement or a suitable sealant around the flashing for additional protection.
Why Choose Professional Installation and Maintenance?
While some DIY enthusiasts may attempt flashing repairs, incorrect installation can lead to leaks and void warranties. Roofing professionals are trained to install flashing with precision, following manufacturer guidelines and building codes. Regular maintenance by professionals also helps to identify minor issues before they become costly repairs.
Mega Pro Roofing: Your Expert for Roof Flashing in NJ
At Mega Pro Roofing, we understand the critical role flashing plays in your roof’s integrity. Our team is experienced in installing and repairing various types of flashing to ensure your roof remains leak-free. Serving the New Jersey area, we provide free inspections and consultations to keep your roof in top shape.
Contact us now!
Conclusion
Investing in quality roof flashing and regular maintenance is key to a long-lasting, watertight roof. By understanding flashing types, signs of damage, and when to seek professional help, you can keep your property protected from costly water damage. Contact Mega Pro Roofing today for reliable roof flashing services in NJ.


